Introduction
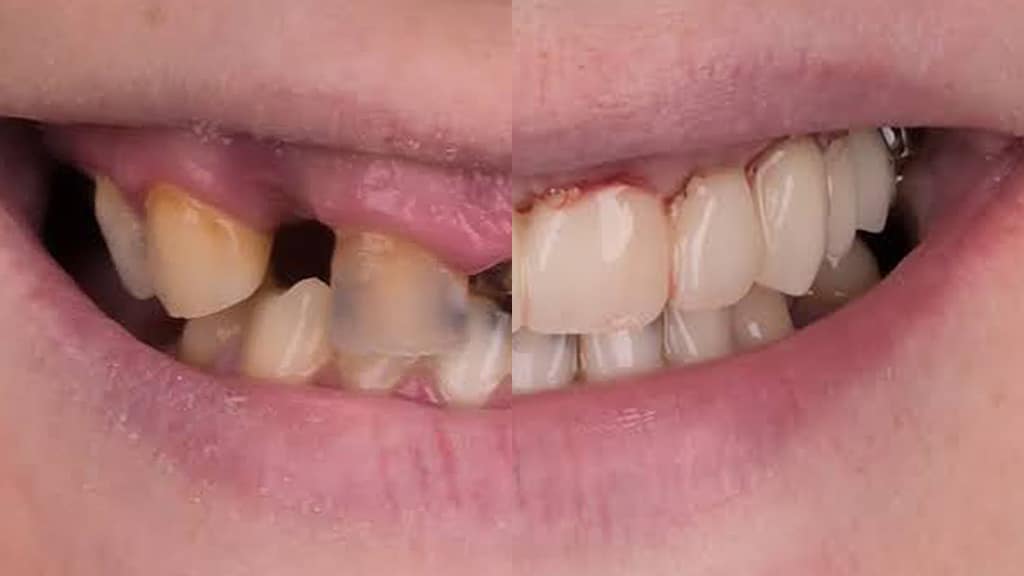
Dr. Sławomir Pastor, the founder of Stomatologia Pastor in Legnica, Poland, has performed a total reconstruction of the maxillary dentition using the PIC system. The PIC system's results were highly valuable and were able to give Dr. Pastor a high precision, quick and effective outcome.
Clinical Case
A 33-year-old, generally healthy woman came to Stomatologia Pastor to start her full dentures temporary restoration. She wanted to reconstruct the maxillary dentition first and restore the mandible at a later time.
The patient, after many consultations in other clinics, did not start treatment due to the multi-stage nature of the proposed therapeutic solutions. She was concerned about the myriad of procedures and the time it took to perform a staged dental treatment which included extractions with cystectomy, bone regeneration, full denture temporary restoration, implant planning, insertion of implants, waiting for osseointegration, implants uncovering, impressions and final prosthetic restoration.
A comprehensive treatment was proposed to be completed in a single visit, including extraction of roots in the maxilla and remaining teeth, removal of a radicular cyst in the left premolar area with simultaneous augmentation with the use of allogeneic bone mixed with I-PRF (injectable platelet-rich fibrin), and A-PRF (advanced PRF), gingivectomy in the upper arch, immediate implantation with immediate loading with a PMMA milled (poly(methyl methacrylate)) temporary full-contour bridge.
The second stage of treatment will take place after 3 months as the replacement of the restoration with the final work - a full contour bridge made of zirconium oxide with superficial characterization, supported on six implants with the use of Dynamic Abutment Solutions multi-units.
(Written informed consent was obtained from the patient.)
The patient's initial photographic documentation was made.
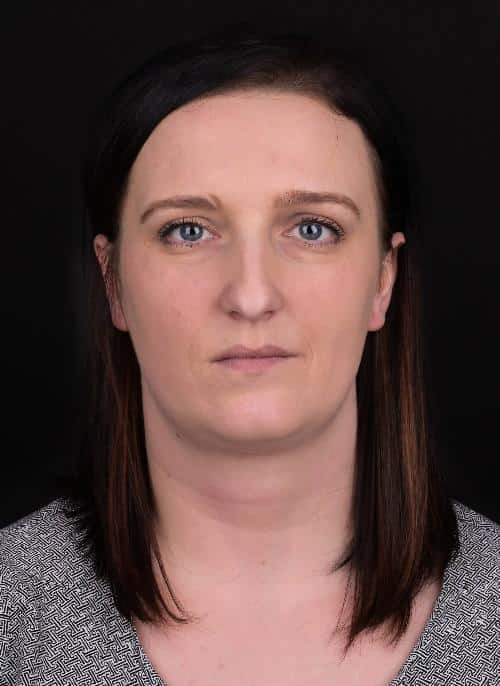
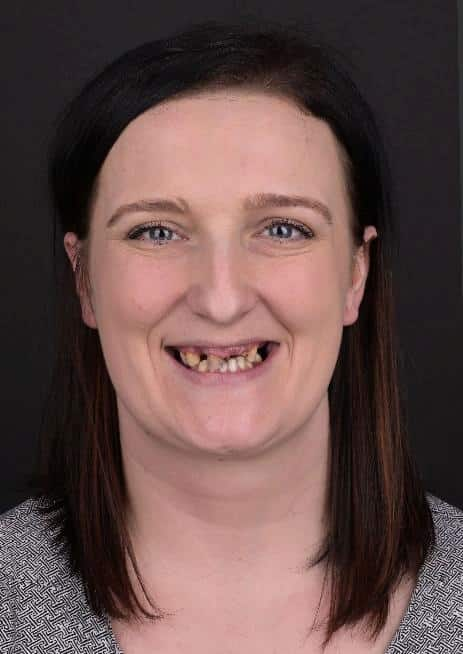
Extraoral
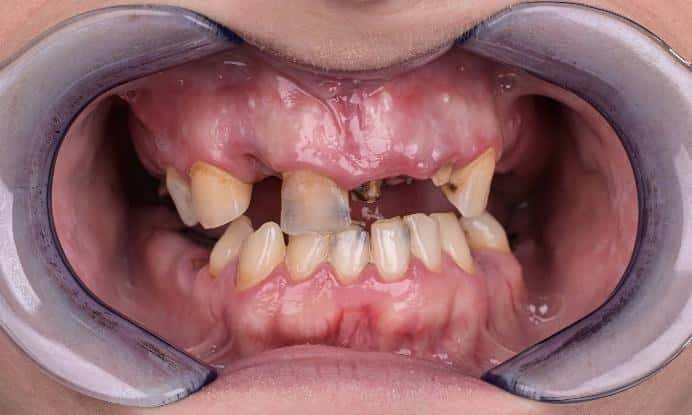
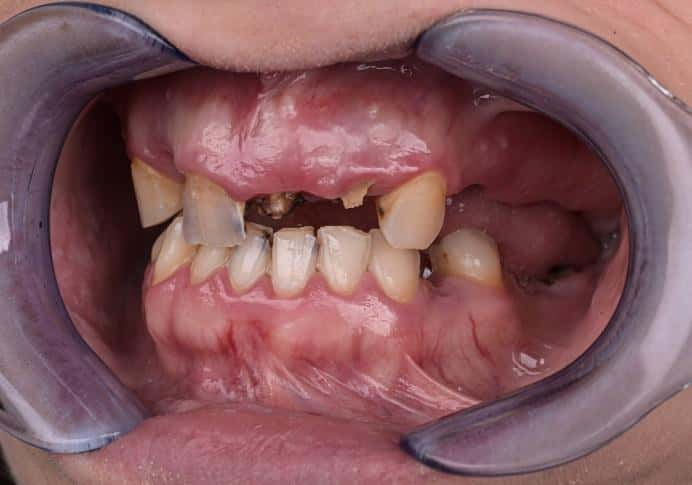
Intraoral
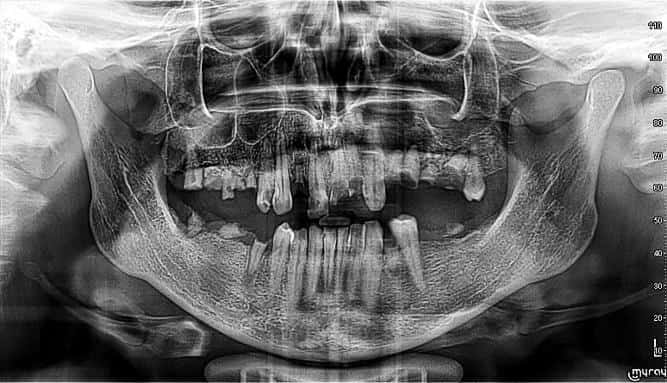
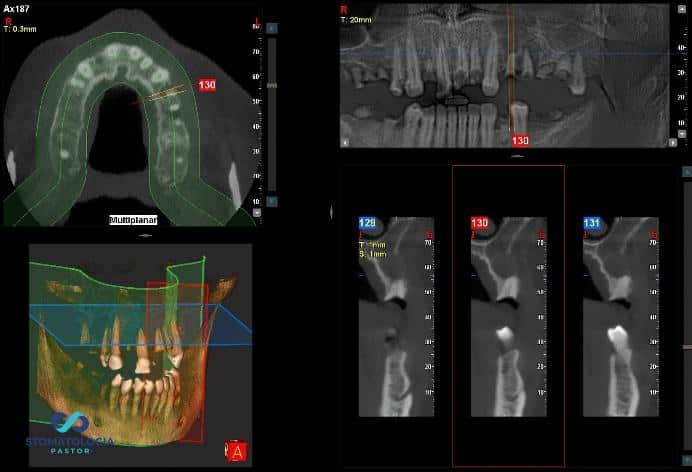
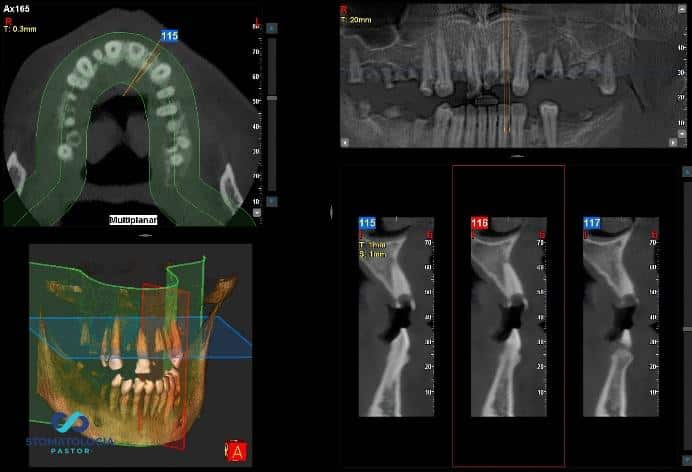
A panoramic radiograph and CB-CT (cone- beam computed tomography) scans were taken.
After running the diagnostics, the following issues were found:
- Residual dentition within the maxilla
- Radicular cyst at the area of 24 25 (upper left premolars) with significant alveolar bone destruction
- Disturbed and low occlusal plane
- Gummy smile
- Hypertrophy of the maxillary alveolar processes and mandibular body resulting in little space for upper and lower molars
The treatment plan focused on restoring the correct occlusal plane in relation to the pupillary line, obtaining the proper proportions of the teeth, and eliminating the gummy smile, as well as reducing the height of the maxillary alveolar bone and modeling the shape of the prosthetic base by planning the compression of the gingiva with the use of pontic design.
The patient was scanned with the Primescan Dentsply Sirona scanner and the obtained digital models were exported to the Exocad software.
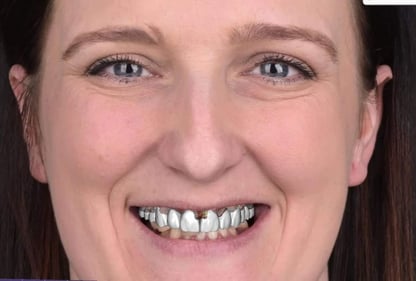
Planning was done in Exocad Smile Creator.
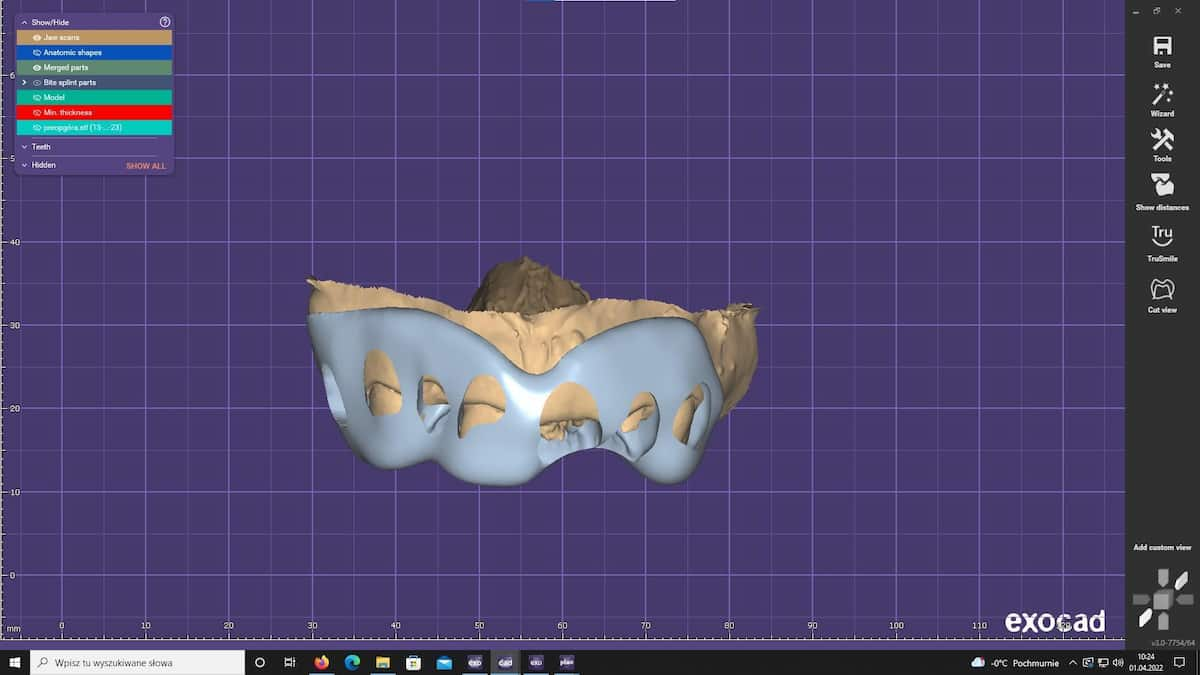
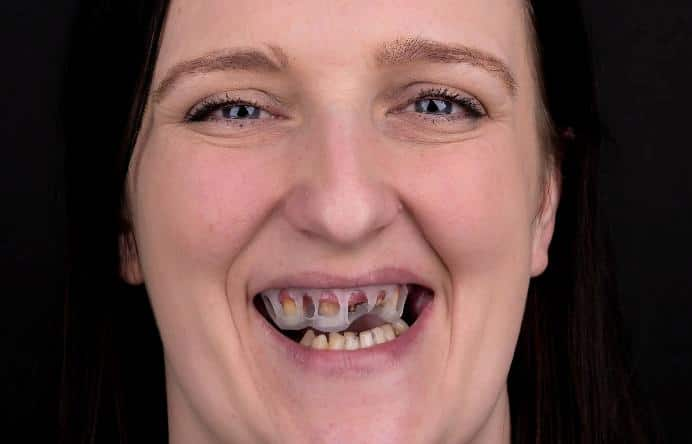
The patient was offered to shift the cervical line of the maxillary incisors towards the nose within 2 mm. To perform a gingivectomy, a template was planned, taking into account the course of the future gingival line.
The patient with a template printed in a Micerlay printer:
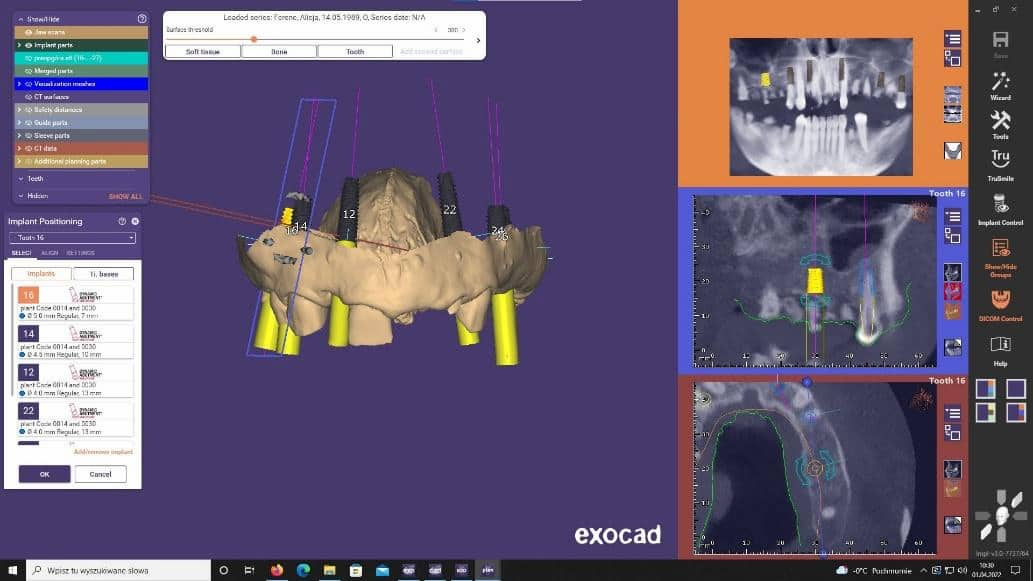
Planning of the implant surgery was performed in the Exoplan software:
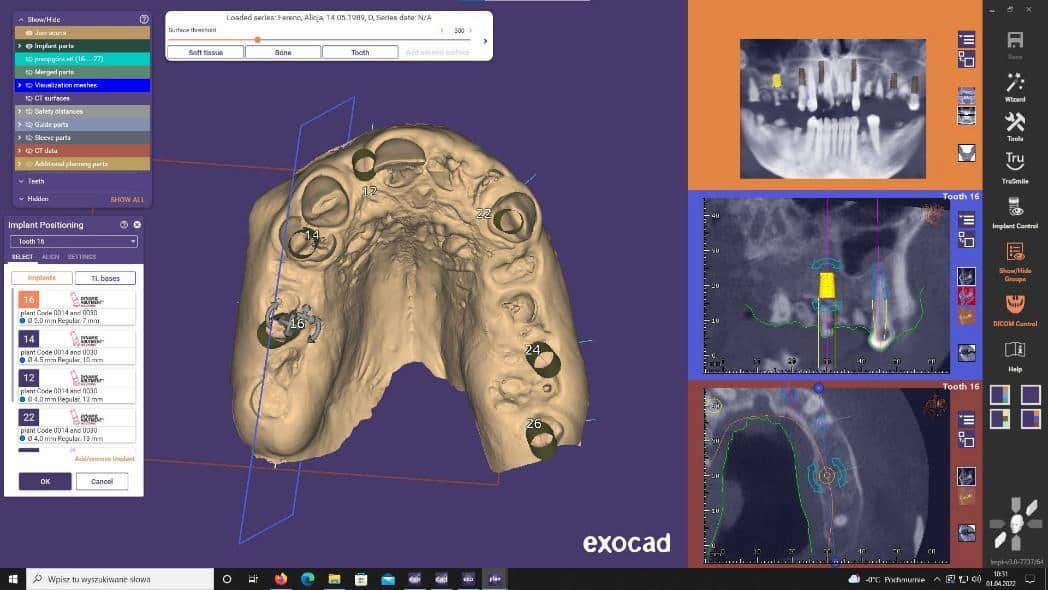
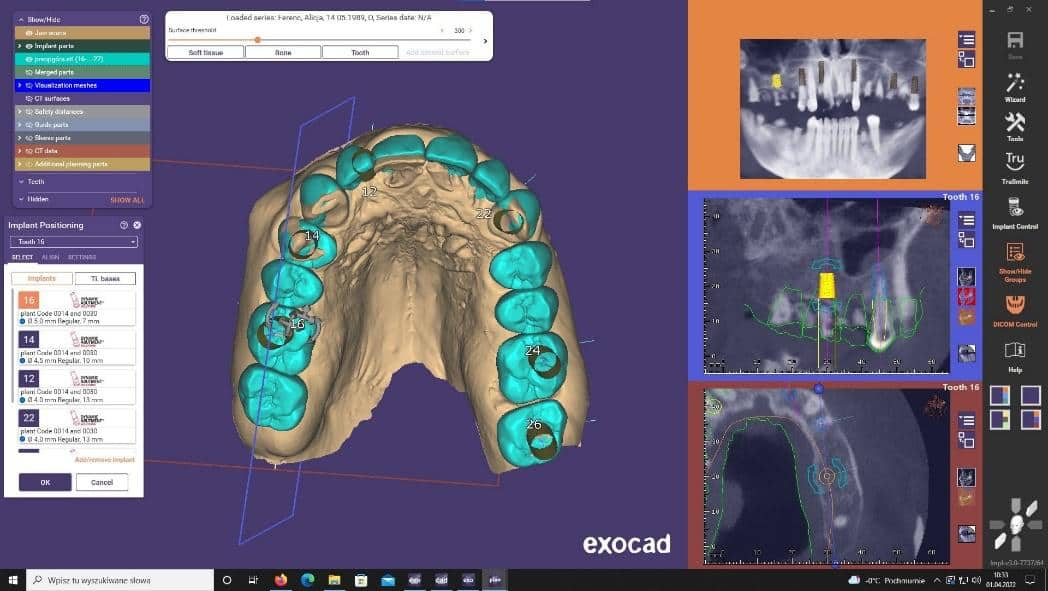
After the templates had been printed, the procedure was started:
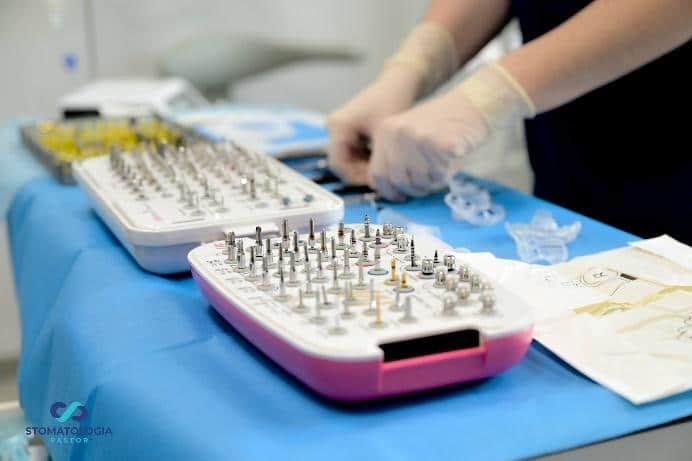
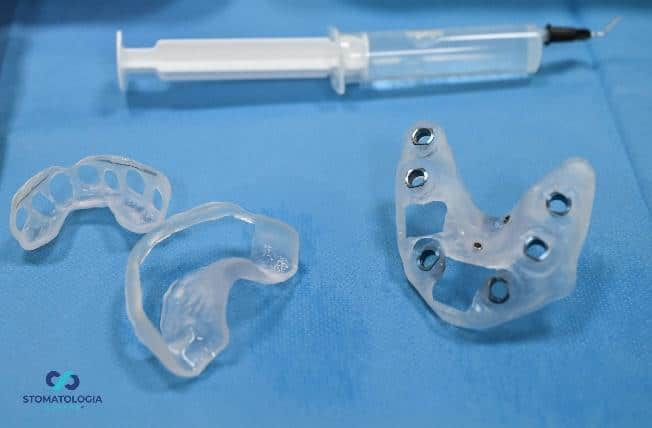
Gingivectomy was the first stage of the procedure.
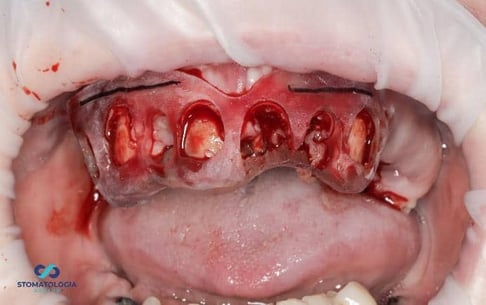
Then the roots and upper teeth were removed.
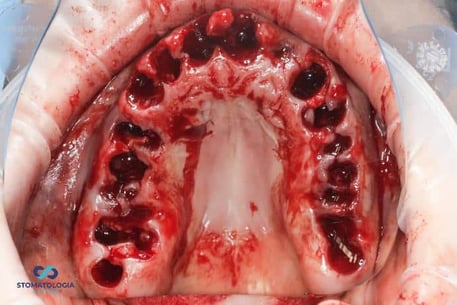
An osteotomy was performed through a template placed on the mucosa with a pilot drill, determining the axis of the future implants.
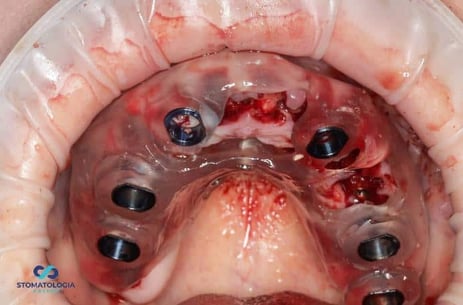
During planning, implants were planned in positions of: 16, 14, 12, 23, 26, 27.
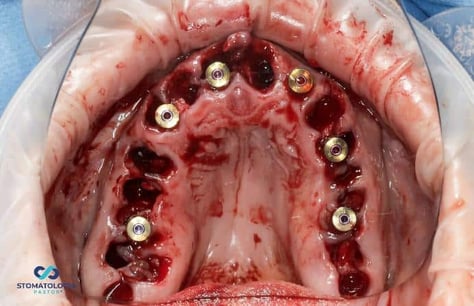
During the procedure, the implantation in position of 27 was abandoned and the implant was placed in position of 21 with a free hand.
After the osteotomy with the pilot drill was performed, the template was removed, further osteotomy was performed taking into account bone conditions, and Dio UF implants dedicated for immediate implantation into soft bone were inserted. Primary stabilization of 35 Ncm and more was obtained. The MU Dynamic Abutment Solution was selected for the subcrestally placed implants.
A cystectomy was performed in the area of 24 and 25 and the bone defect was augmented with allogeneic bone. Postextraction sockets were filled with A-PRF.
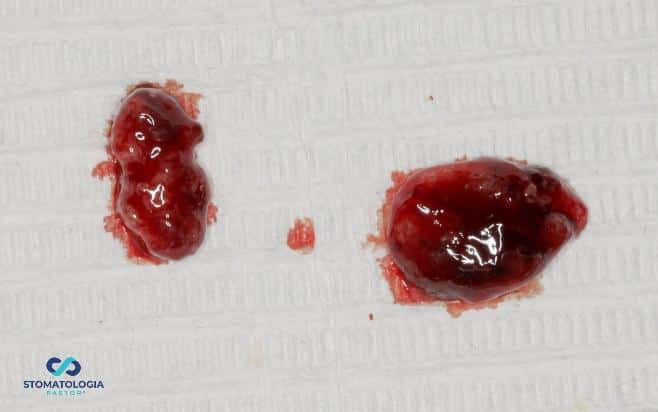
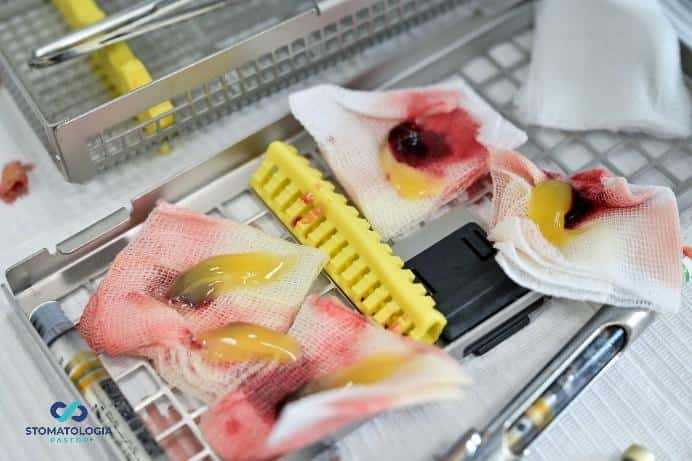
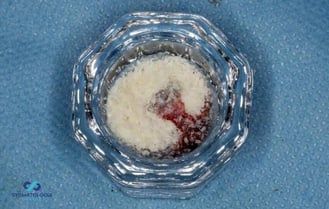
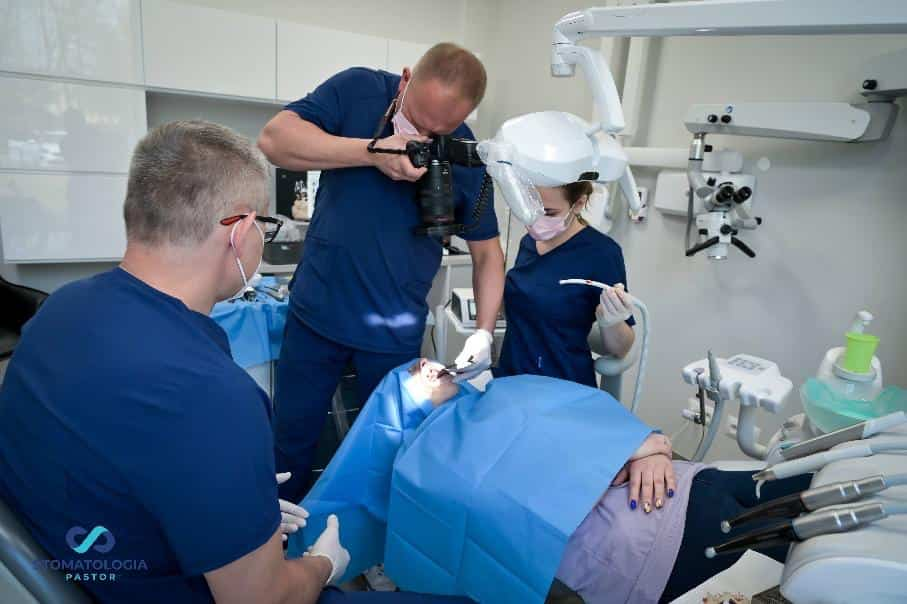 A photographer documenting the stages of the procedure.
After the sockets were filled with allogeneic bone and A-PRF, the maxillary prostetic field was scanned with the Primescan Dentsply Sirona scanner.
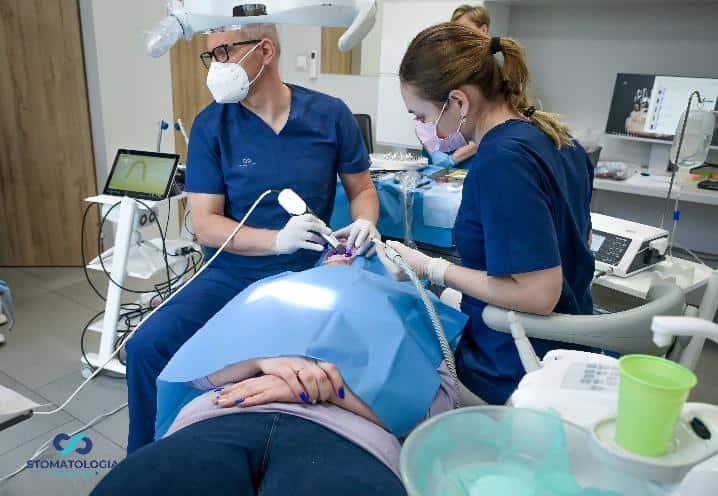
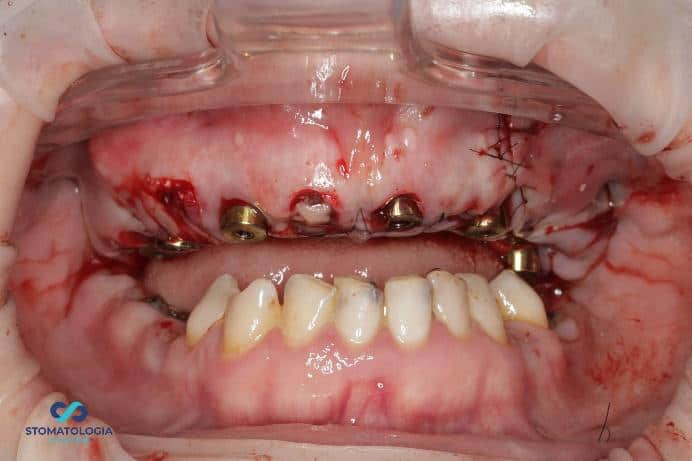
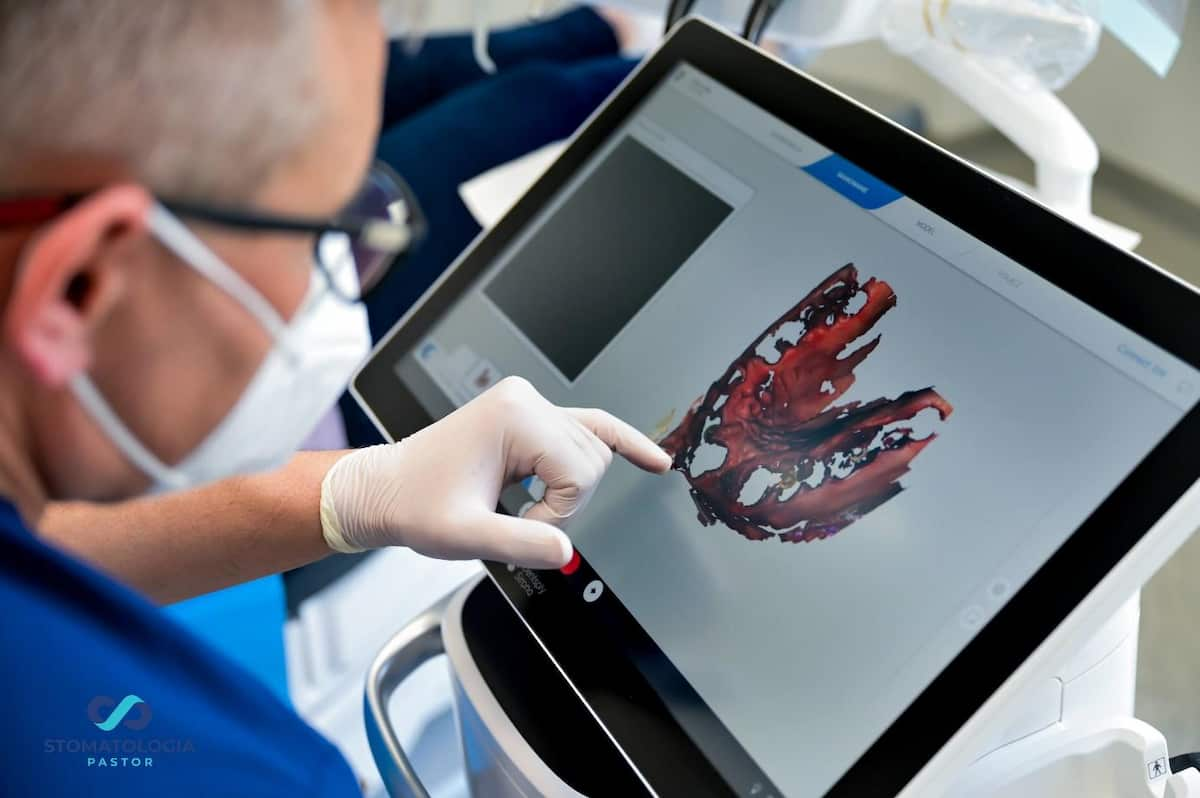
The interrelated positions and angulation of the implants were captured using the PIC system.
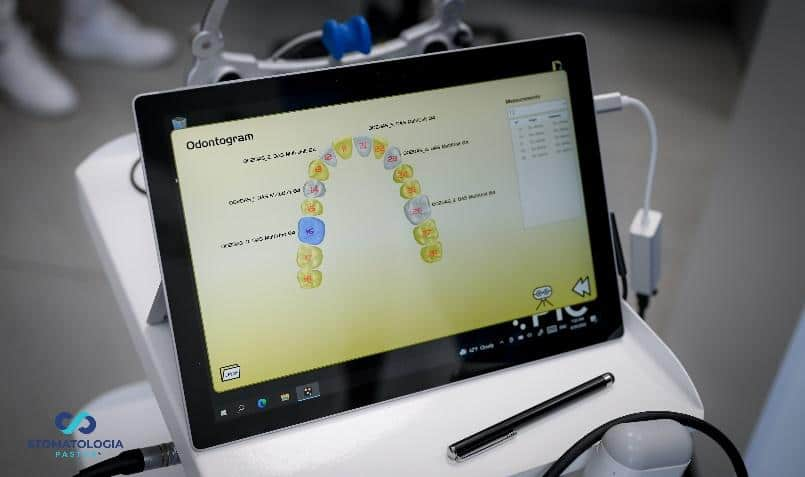
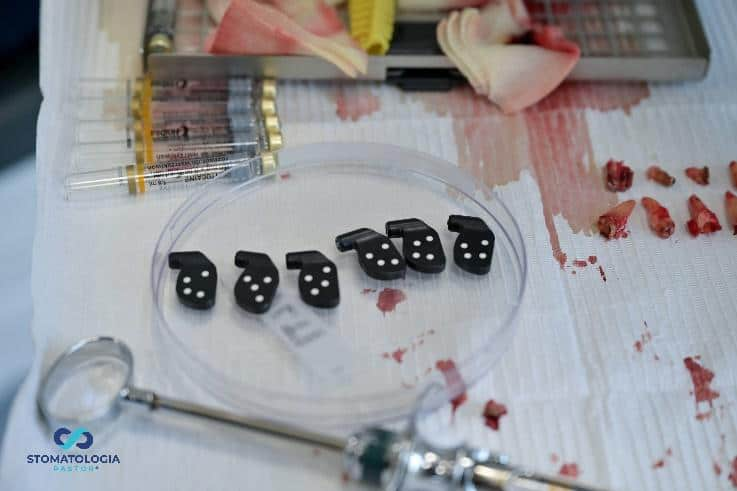 PIC transfers ready to screw on.
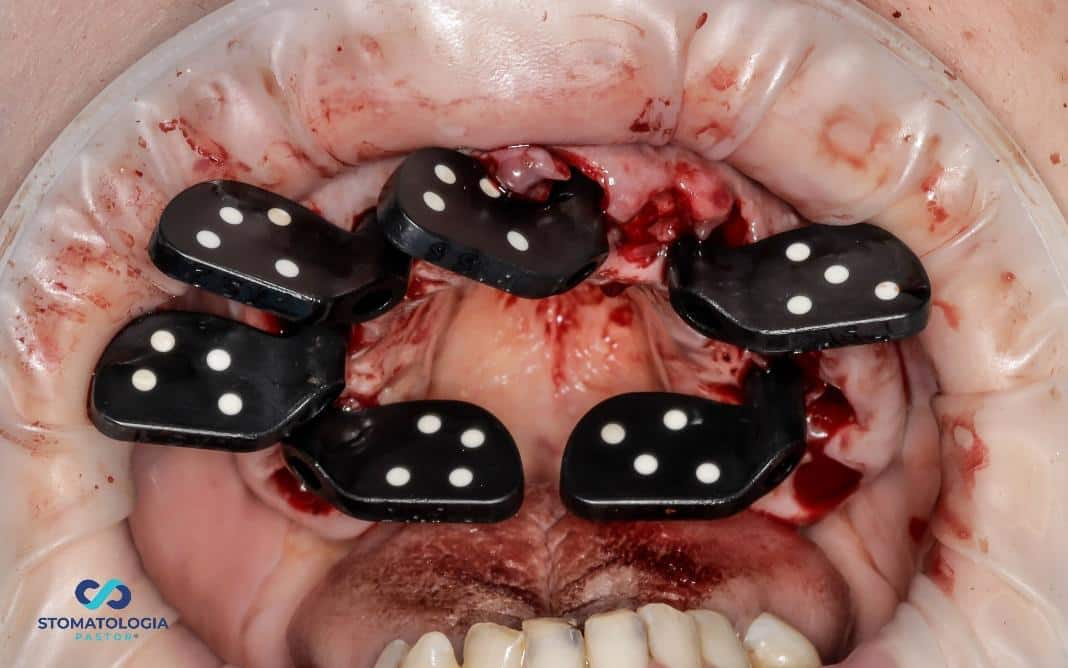 PIC transfers affixed to the MU Dynamic Abutment Solution
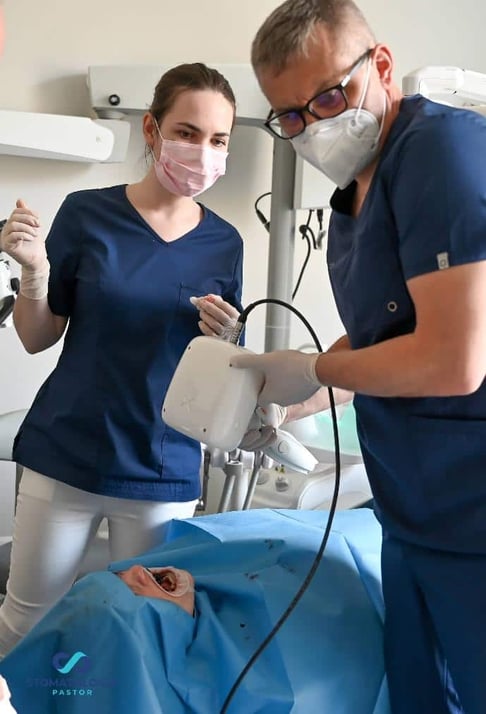
Taking an impression with the PIC system.
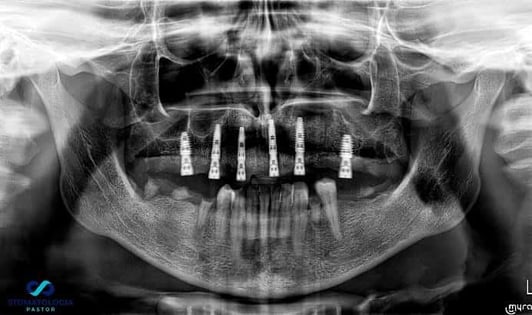 Control panoramic radiograph
Within a few hours, the prosthetic laboratory located in the clinic made a PMMA bridge on 6 implants with the use of a dynamic ti Base.
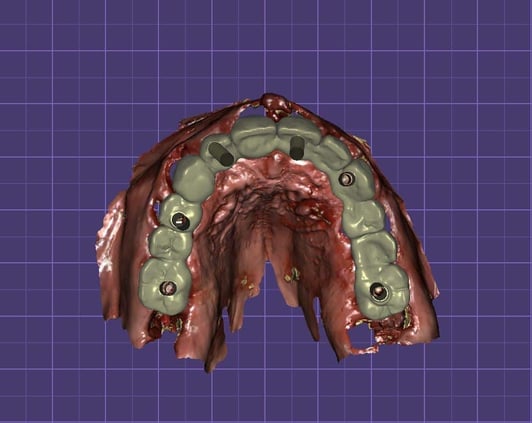
When designing the bridge, the Pontic technique was used to press the gingiva firmly.
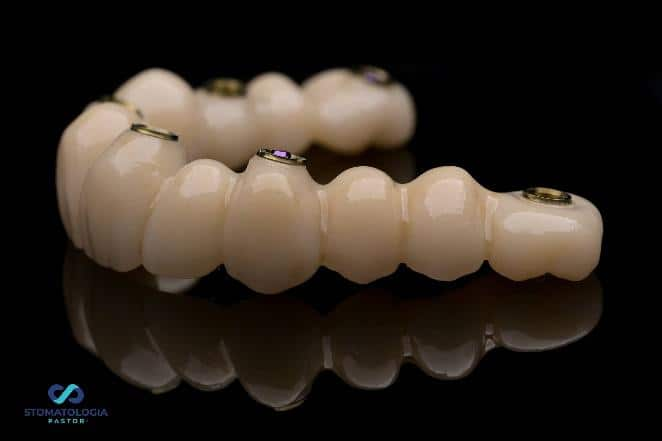
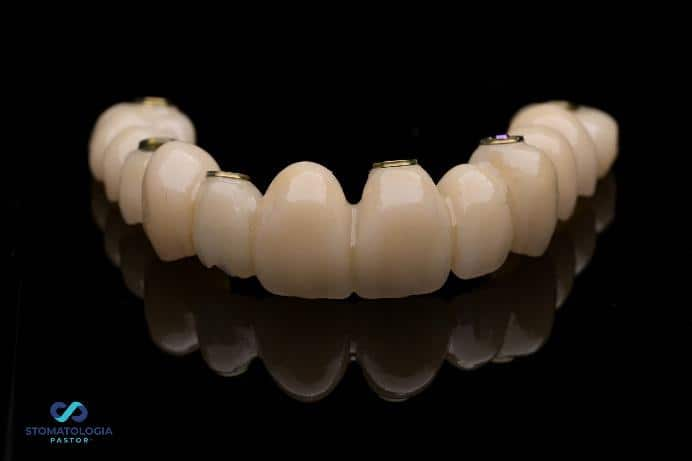
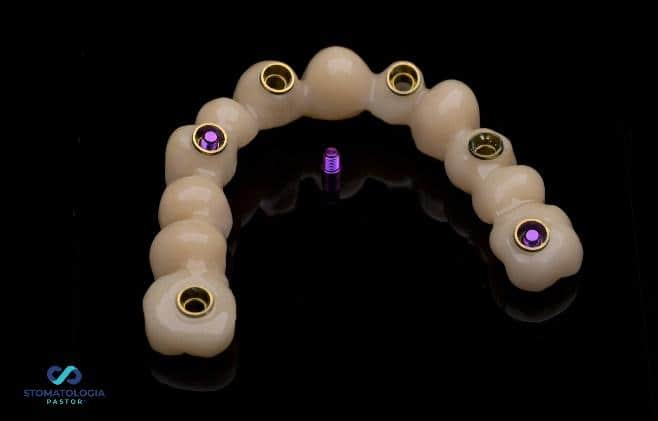
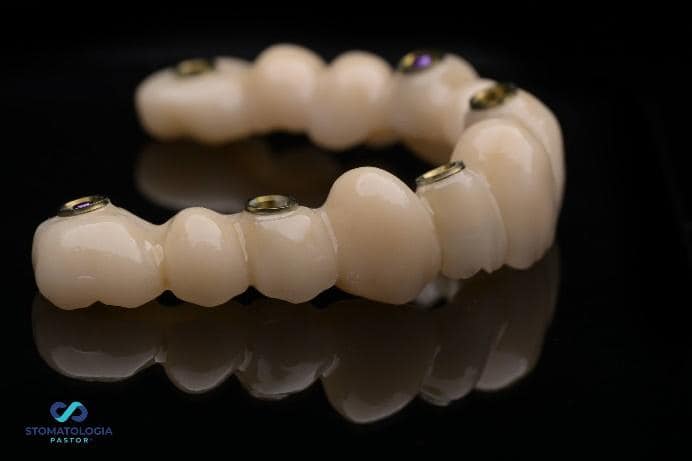
The bridge was screwed on.
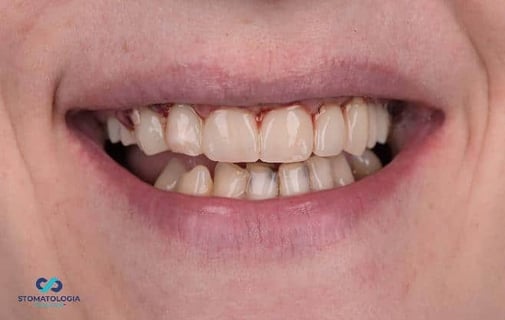
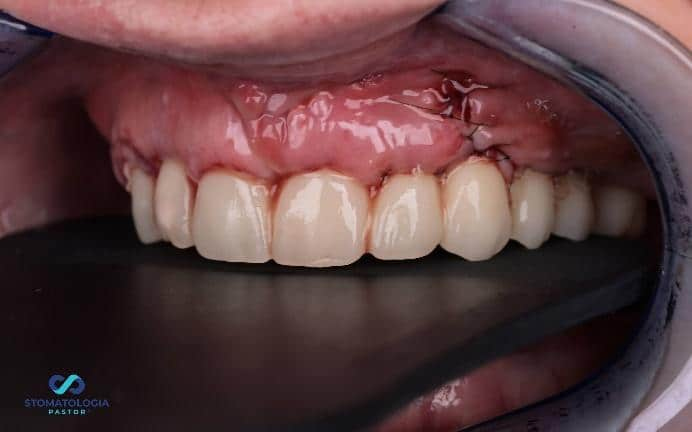
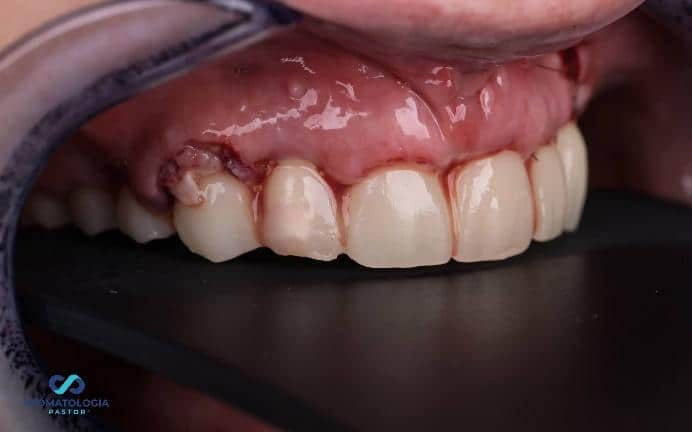
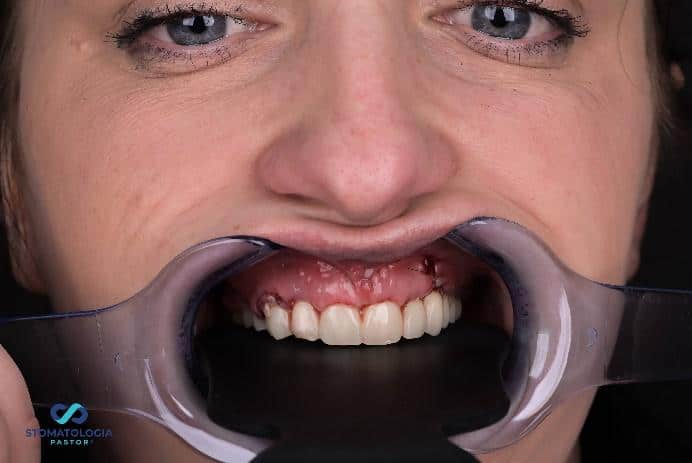
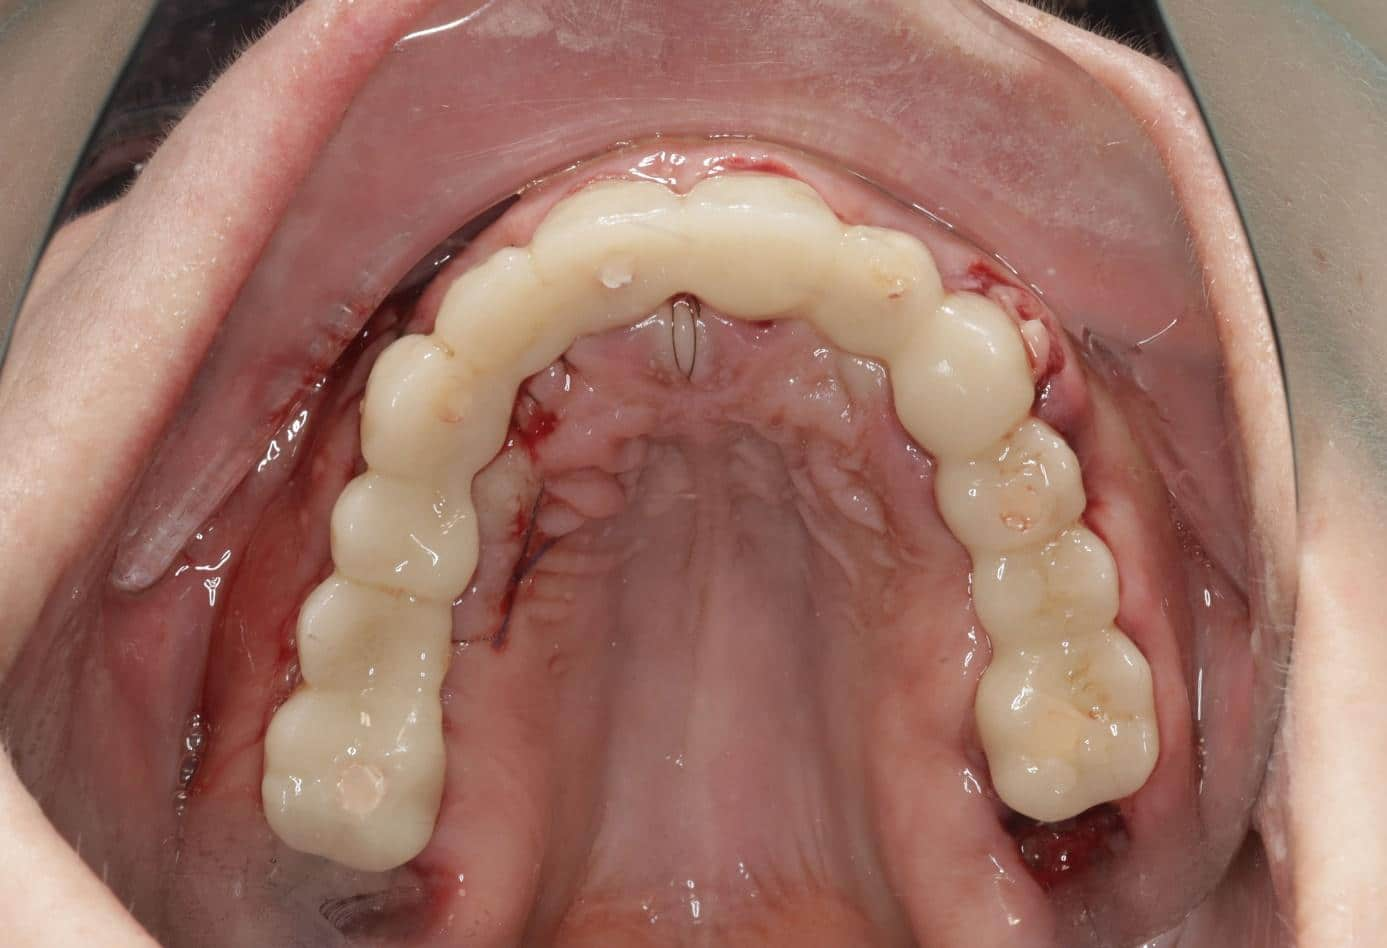
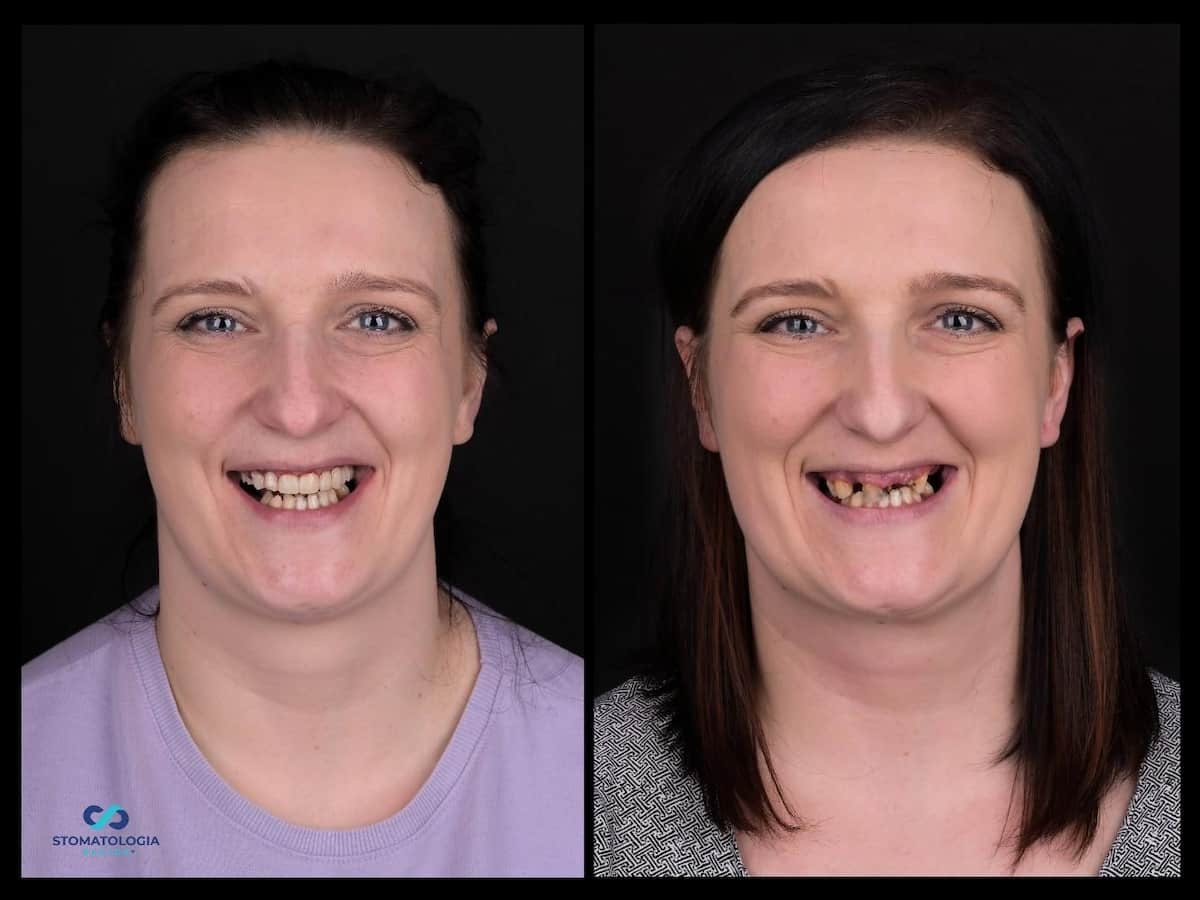
Check-up 1 day after surgery:
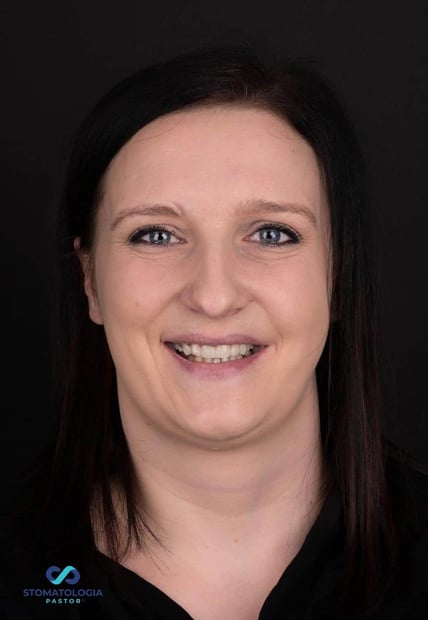
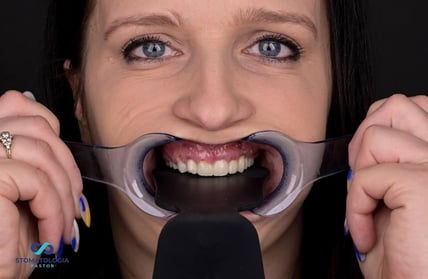
This case was done by Dr. Sławomir Pastor at Stomatologia Pastor in Legnica, Poland.
